Laser Cutting Practical
In this practical, we learnt how to perform laser cutting on either the FusionM2 or Fusion PRO laser cutter. We had to create a Standard Operating Procedure (SOP) for operating the laser cutter which was later improved upon after completing the practical. This is the improved version of the SOP.
Starting Up Operation
- Turn on the air compressor (not required for Fusion PRO)
- Turn on the fume extractor
- Turn on laser cutter machine
- Turn on the computer and pc.
Cordeldraw Operation
- Open CorelDraw on computer
- On the top left side of the screen, click the 'file' icon and import design file.
- Use the select tool and click on the part you would like to vector cut.
- Click the brush icon on the bottom right of the screen
- Set stroke to 'hairline' and colour to red. (input colour components as R:255, G:0, B:0) Red is for vector cutting while green is for engraving.
- Use the select tool and click on the part you would like to engrave. Select brush icon (Stroke) and set the stroke to none. Select bucket icon (fill) and set the colour to green (input colour component components as R:0, G:255, B:0)
- Click print icon at the top to send file to Epilog Dashboard


Epilog Dashboard Operation
- Turn on autofocus
- Click on the folder icon to import material and change material thickness. Set power to 30% for engraving. Check with personnel in charge if uncertain. (For both machines, position the object to cut at the top left corner so that the laser need not move too far to start cutting)
- Press print button


Laser Cutter Operation
- Check screen to see whether the filename is correct
- Open the lid of the laser cutter and place material inside laser cutter.
- Switch mode to jog more and use the joystick to position the laser to where you want to start laser cutting
- Press GO/START button to start cutting.
- Once laser cutting has been completed, wait 60 seconds before removing product from laser cutter to. This is to let the fumes be removed and let the material cool down.

- Clear materials from laser cutter.
- Close lid of laser cutter.
- Switch off computer.
- Switch off laser cutter.
- Switch off Fume extractor
- Switch off air compressor
- Perform housekeeping
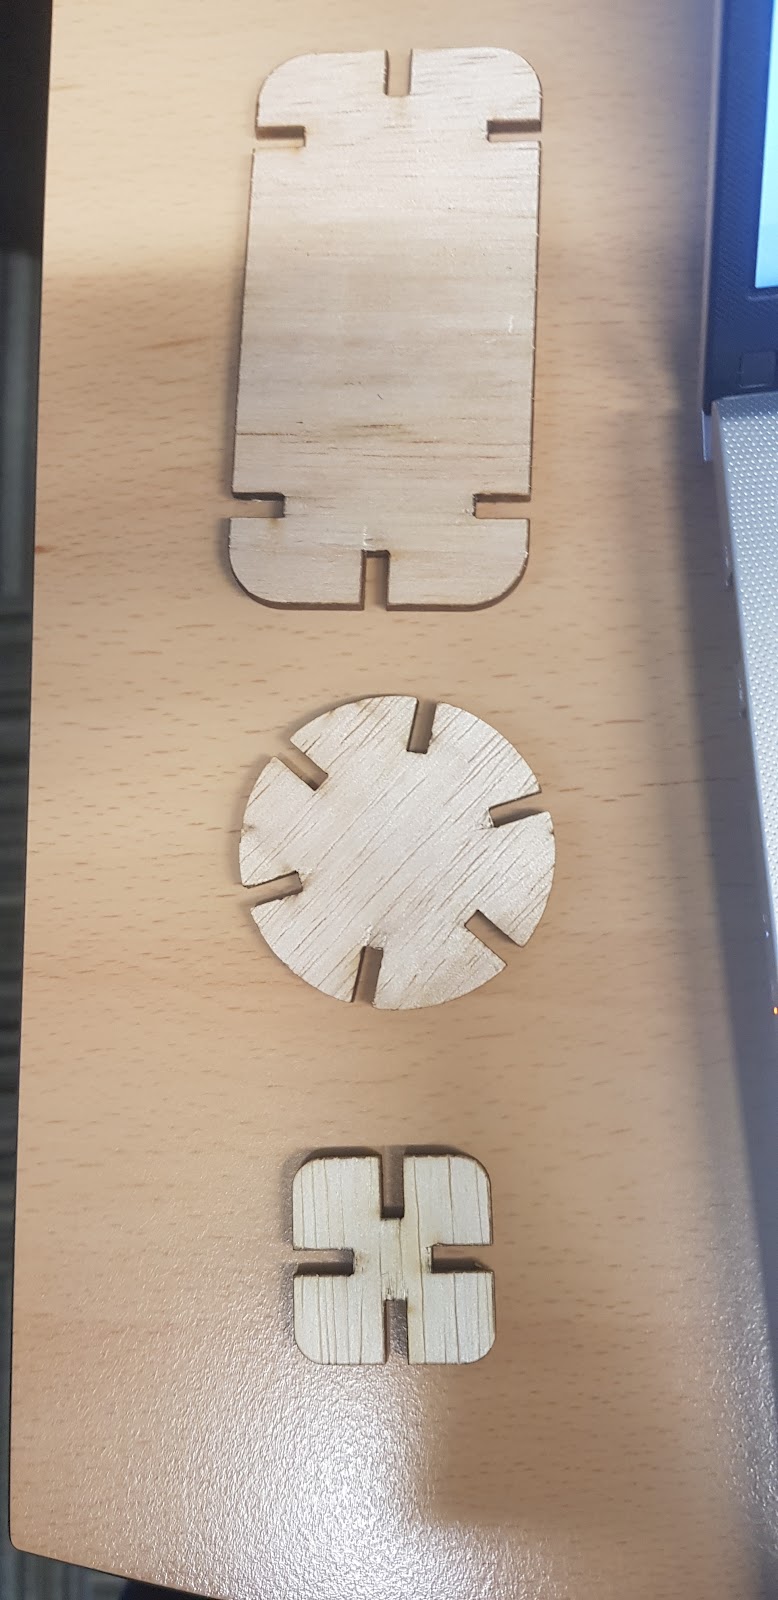
Theses are the pieces we printed!!

Reflection
I found today's practical really interesting as I got to see the laser cutter at work. The precision levels and edge quality achieved with laser cutting machines are better than traditional cutting methods. Furthermore, the process of using the laser cutting machine was straightforward and easy to use. I believe that what we learnt in this practical will benefit us in the future project in this module. The chemical product that we are planning to construct will be using parts that require laser cutting.
Initially, we thought that adding parameters was just an extra redundant step, but after needing to make quick changes to the slot width, we realised that it was extremely useful and that it should be incorporated into all of our future designs using auto fusion360 especially for CADs with many repeating components. Instead of redesigning all the 3 pieces which will take around 20 mins, we just had to change the parameters for all the designs which took 4 times faster. As we were doing this, we were appreciative of and realized the importance of this function. Furthermore, we had firsthand experience with the importance of kerfs since our first attempt did not stick together, as did all the other groups. After reviewing other groups' attempts, we discussed and decided on a gap length that will work. As a result, our second attempt resulted in a perfect fit.
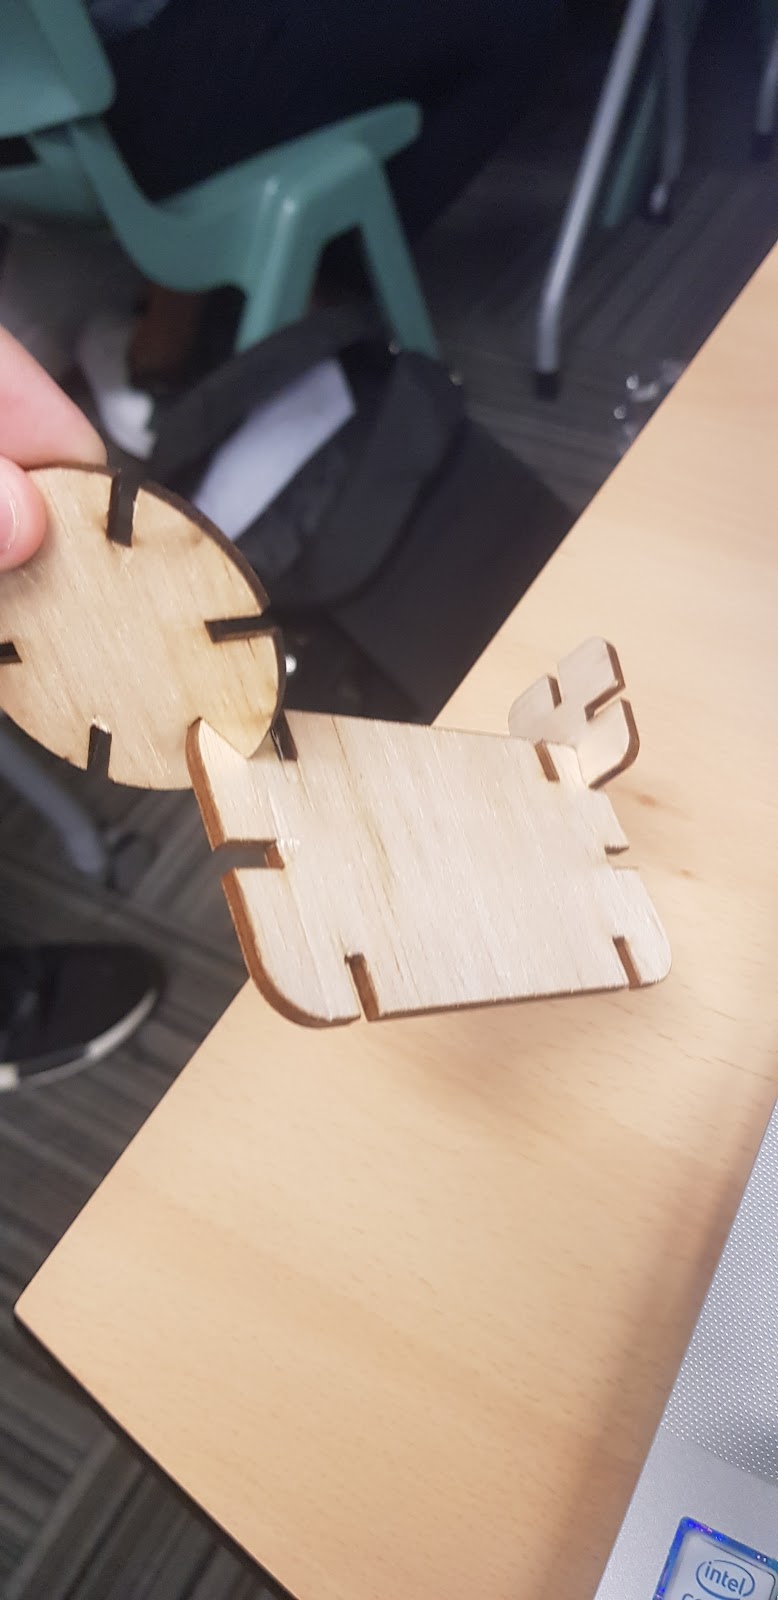
With the pieces we made using the laser cutter, we constructed a simple yet effective IPad stand.
No comments:
Post a Comment